

Mastering Mobility: Keeping you injury free
We live in a world wear people spend more time colour matching their running gear than actually running. Where the perfect Running playlist, is more important than what you had for breakfast. Where how much you spent on your shoes speaks more about you, than how fast you completed an event.
In this way it’s easy to get caught up in the fashion trends of running or exercise, and neglect truly important aspects of your exercise. In this case, I’m talking about mobility and flexibility training.
I’ll say it, functional mobility is AS IMPORTANT as training. In fact, the two MUST go hand in hand. If you don’t prepare and recover accordingly, you wont be able to train to the best of your abilities, and you increase the risk of injuries.
Mobility vs Flexibility?
Mobility is the ability to perform functional movements, (squats, lunges, shoulder movements,running) with no restrictions in the Ranges of Motion.
Your body is under complete control during movement.
Flexibility is the ability to stretch a muscle to its anatomical limits.
Being able to stretch a muscle is not as effective as being able to control your core or balance whilst the muscle is under load.
How do I achieve mobility?
Many pieces of gym equipment can be used to help with mobility. From weight plates, to barbells, almost anything can be a mobility tool if you’re brave enough (and have the correct supervision).
However we’ll discuss the main tools in a mobility basket and the pro’s and cons of each.
Foam Roller
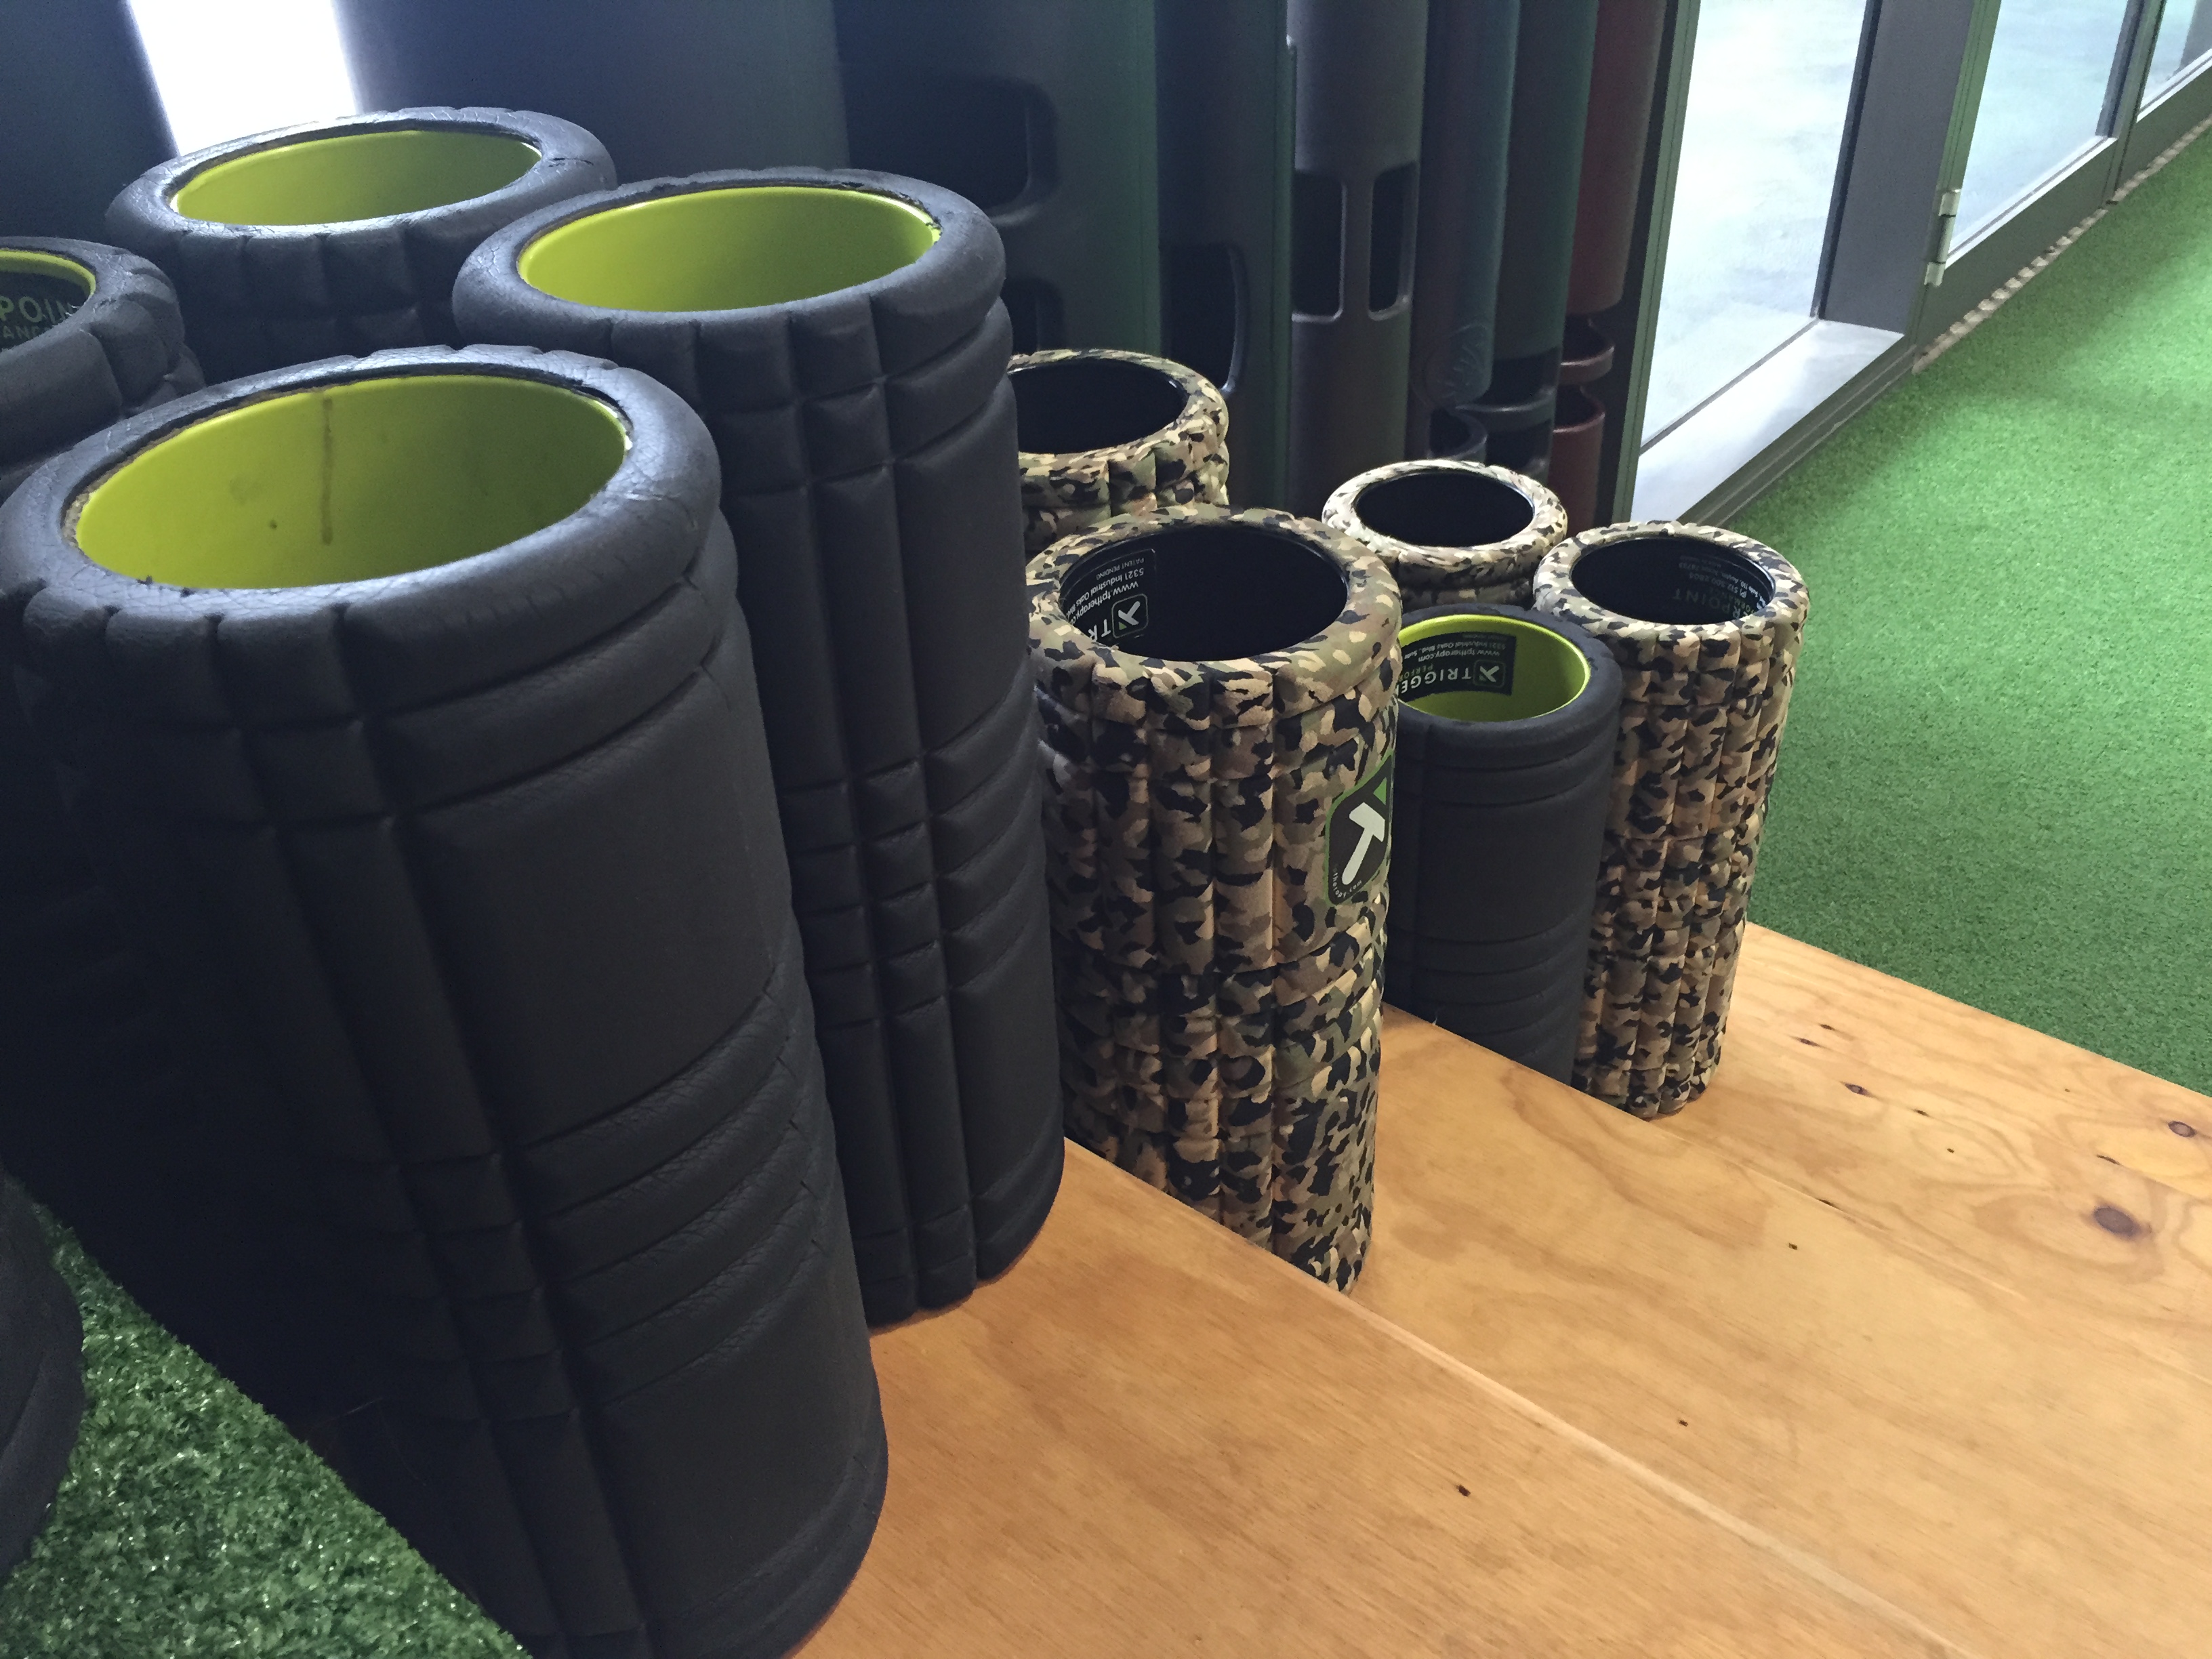 Look in any professional weightlifter, runner or cyclists gym bag and more than likely you’re going to see a foam roller. They come in all shapes and sizes, varying degrees of stiffness and colours, and by association a range of costs. It is the Gold Standard for mobility exercises and can be used on the spine and back muscles, as well as any other muscles in the legs and arms. Foam rolling is uncomfortable and can take time, however you will soon see the benefits of a foam roller.
Pro’s
Simple to use, using your body weight to leverage the stretch on the muscle.
Lightweight, easy to carry around and travel with
Low cost
Con’s
Should not be used in certain areas (low back, ITB, neck)
Can vary in price and quality
Uncomfortable.
Power bands
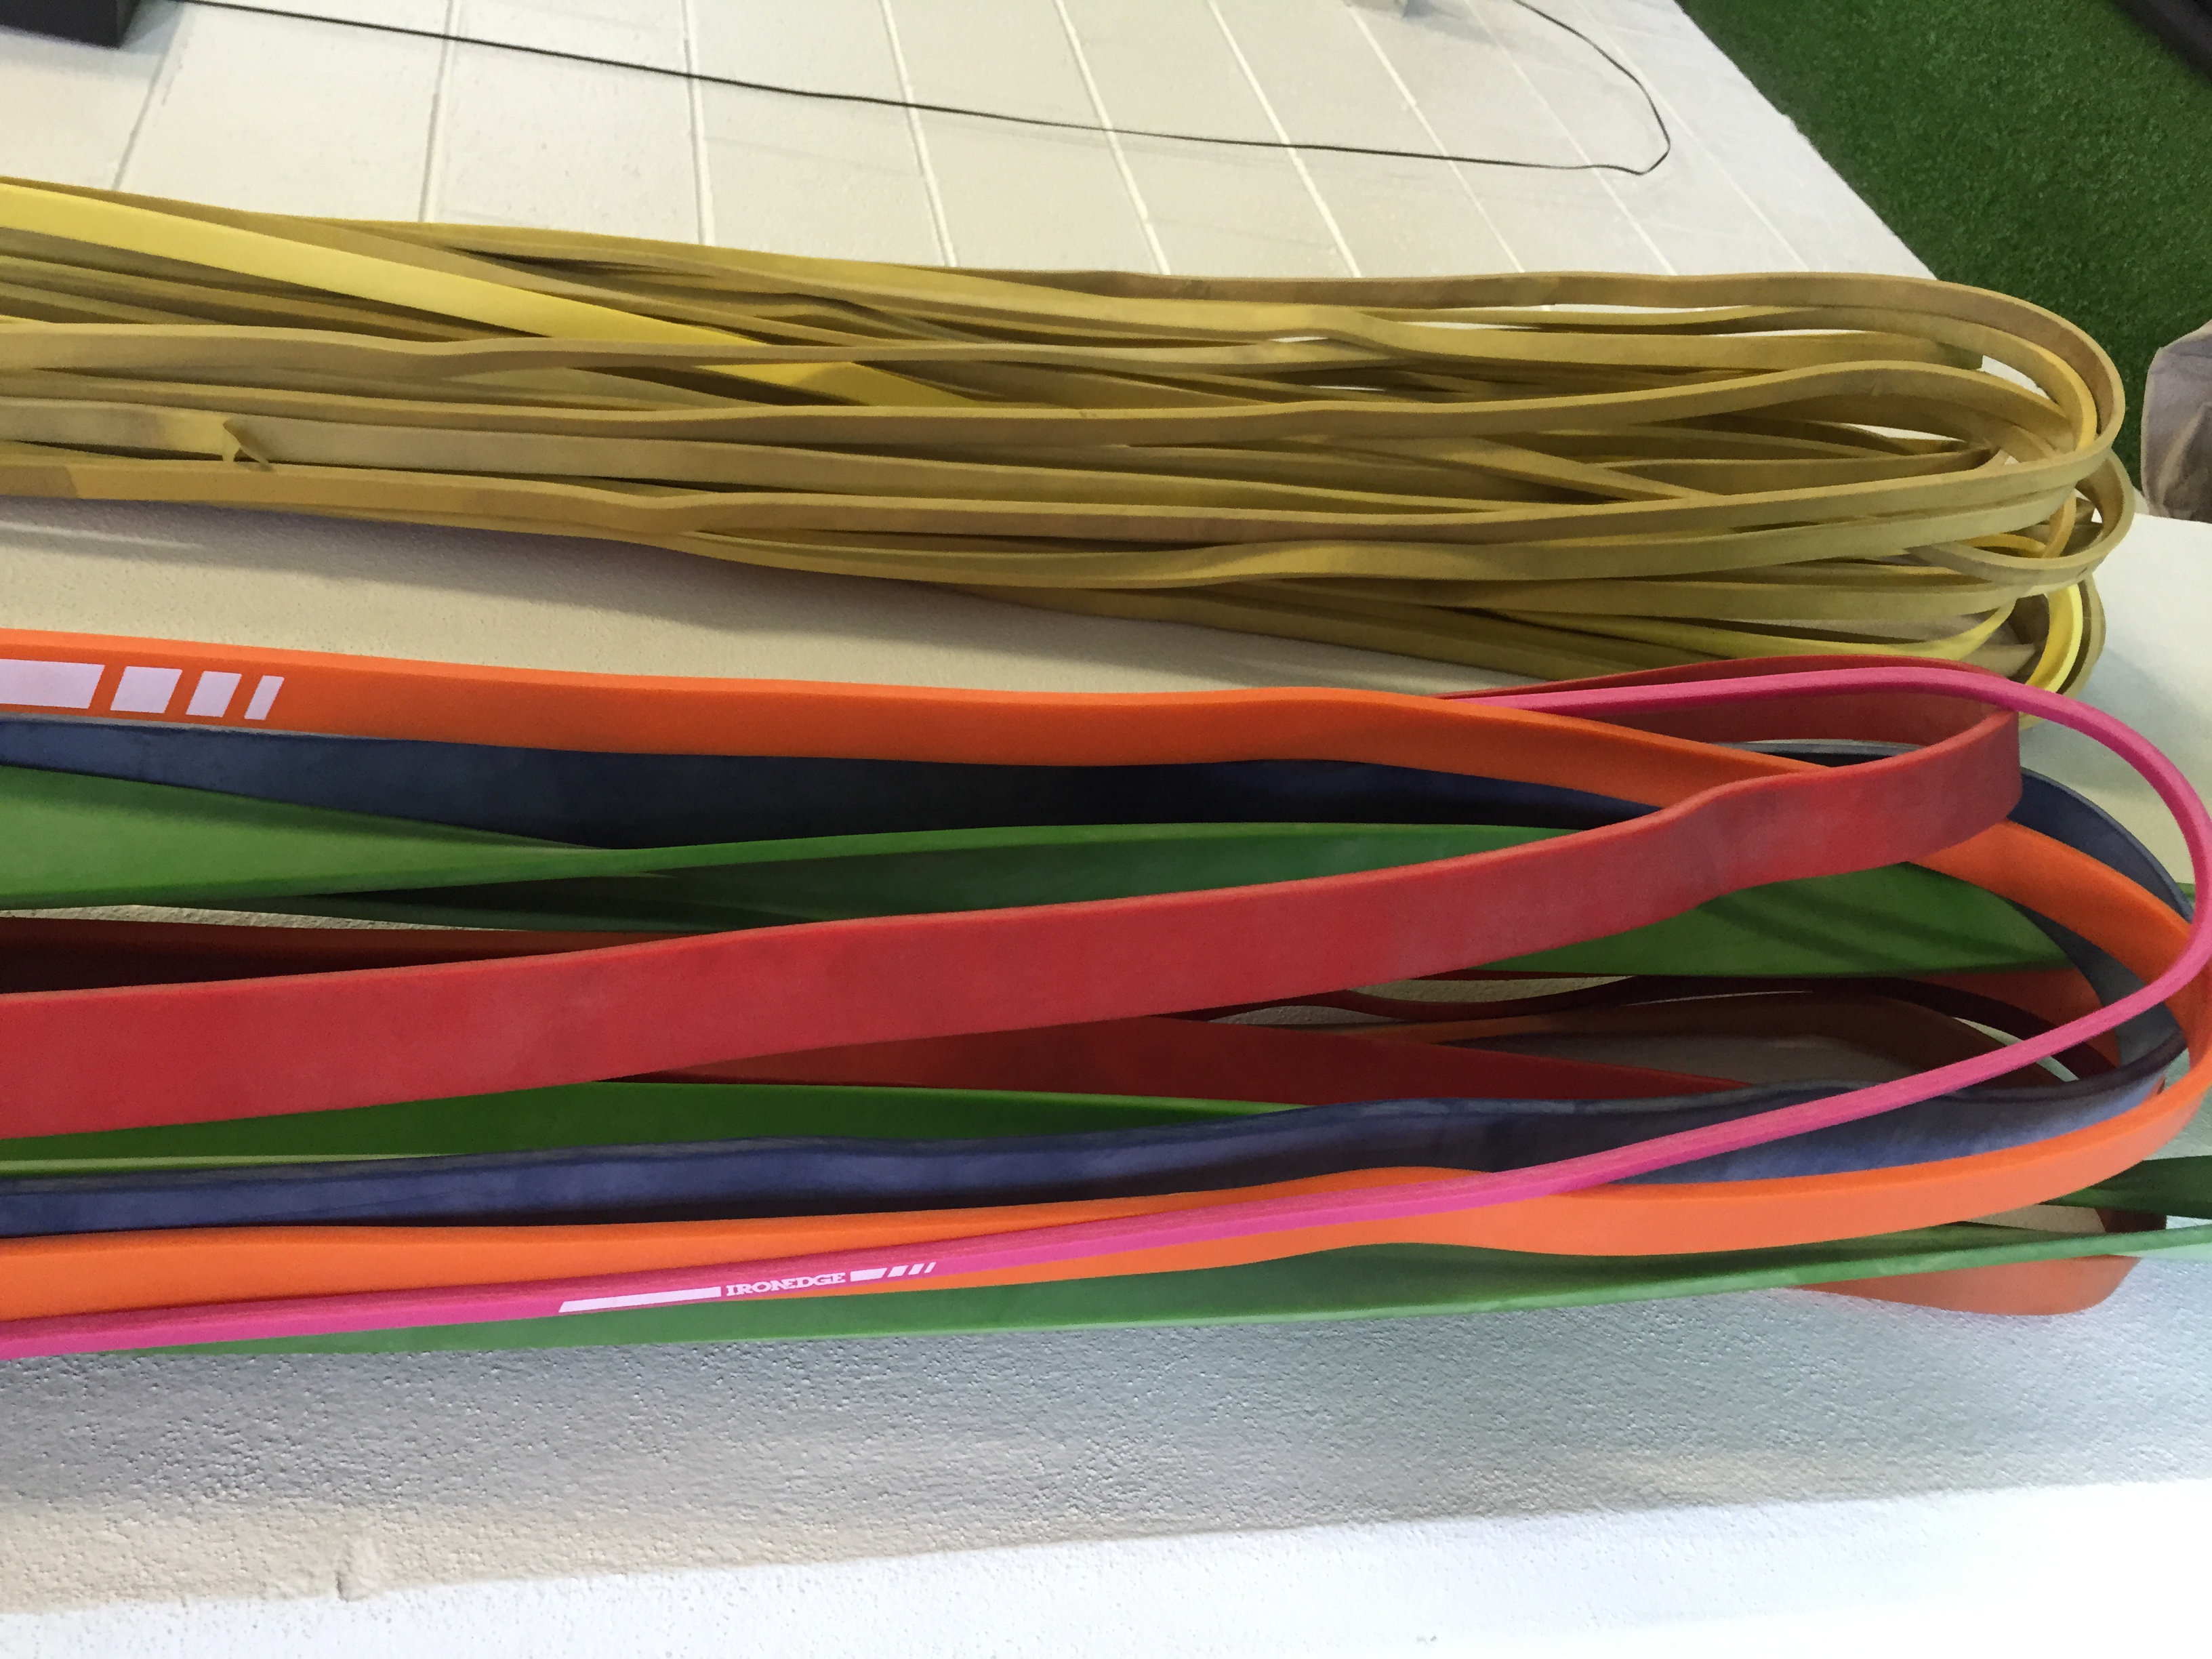 Power bands are the fancy name for giant thick elastic bands. These bands come in multiple colours depending on the strength of the band. They can be used not only for mobility, but also for assisted exercise. Depending on the band, they can be used to mobilise shoulders, elbows, knees, ankles, hips and the spine. As such they are another useful tool to keep in the kit bag.
Pro’s
Lightweight, again using bodyweight to leverage the stretch
Very cheap and very durable
Small enough to carry a few in your bag
Con’s
Can cause friction burn
Possibly risky if not properly used
Need a solid attachment point
Mobility Ball
 Many companies sell mobility balls under a range of names and price points. However the most effective mobility we have used is a LaCrosse Ball. A very hard rubber ball, that is quite cheap and extremely durable. This ball is either a God send or nightmare depending on how you look at it. It gives one of the deepest most specific trigger point stretches possible, so whilst uncomfortable to use provides immediate relief and increase mobility.
Pro’s
Specific trigger point release
Cheap and will last you forever
Small and light, can carry in a handbag
Con’s
Can be uncomfortable for first time users
Simple Mobility Routine
So now you have heard why mobility is important, and we’ve discussed 3 different types of mobility equipment, how can you use that in an exercise program?
Please note this is a sample mobility routine and does not cover every movement that is possible with this equipment.
Start with some Foam Roller exercises, working on the calves, quads and hamstrings.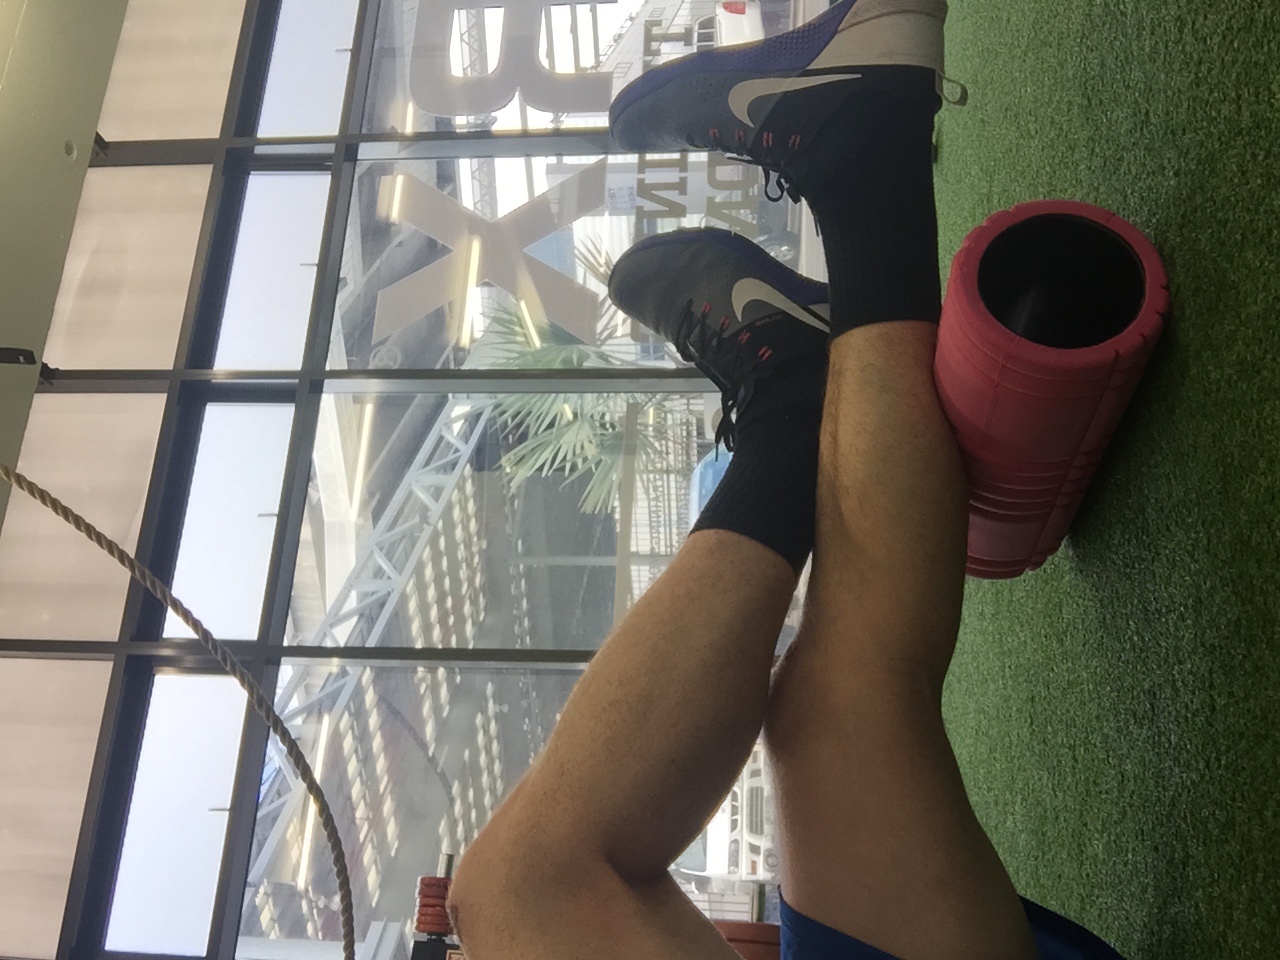
Then work on your mid back and lats.
Try to spend a good 30 seconds, relaxing into the exercise, as foam rolling can initially be slightly uncomfortable.
Remember to breathe.
Spend 90 seconds on each muscle/joint
Use the Power Bands attached to a solid structure (squat rack at the gym, or a metal fence if outside)
Take a lunge position and stretch the lats and lower back focusing on relaxing the shoulder as much as possible. Spend 45 seconds on each side.
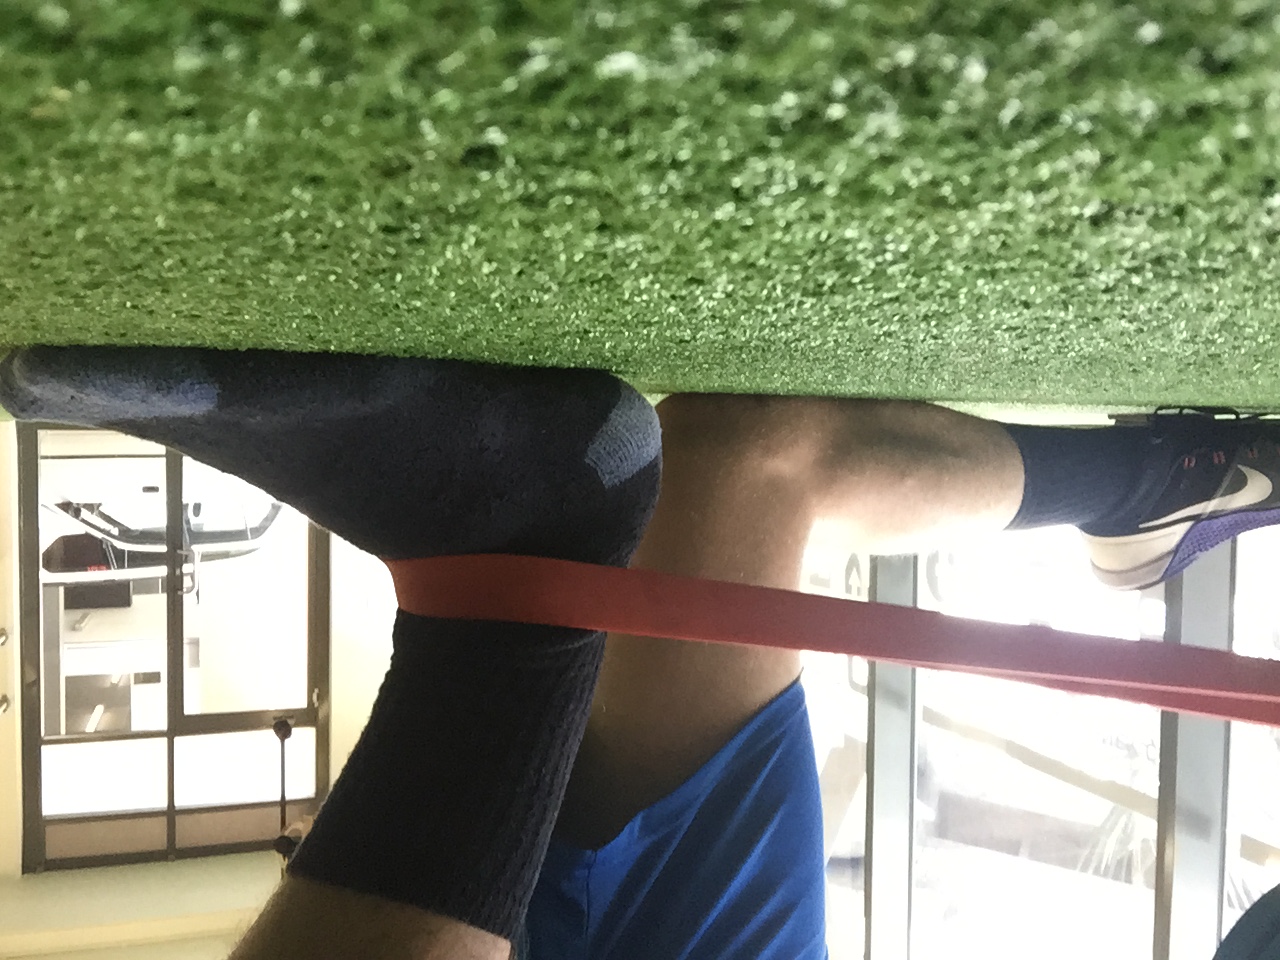
Place the band around your ankle and take the forward lunge position again, feel the stretch through the front of the ankle and through the calf.
Spend 45 seconds on each side.
Place the ball on the wall with the muscles in between your shoulder blades resting against it. Raise  and lower your arm on the same side to release these muscles.
Place the ball on a box or raised bench. Sit on the bench so your hamstring is on the ball, and flex and extend the knee gently. Move the ball around for the duration of the stretch to feel for tighter spots.
Complete 90 seconds for each hamstring.
Looking at this example, you can see that mobility can take upwards of 30-40 minutes, depending how many muscle groups you use. Whilst time consuming, it is time well spent. You should aim to complete the mobility routine every second day, after your exercise.
The truth is, mobility is uncomfortable, but the earlier you start, the easier and more effective it becomes. It is THE most important aspect of your training that will help you to stay strong, injury free and Live Active. If you’d like to learn more about how mobility affects training click here for further information.